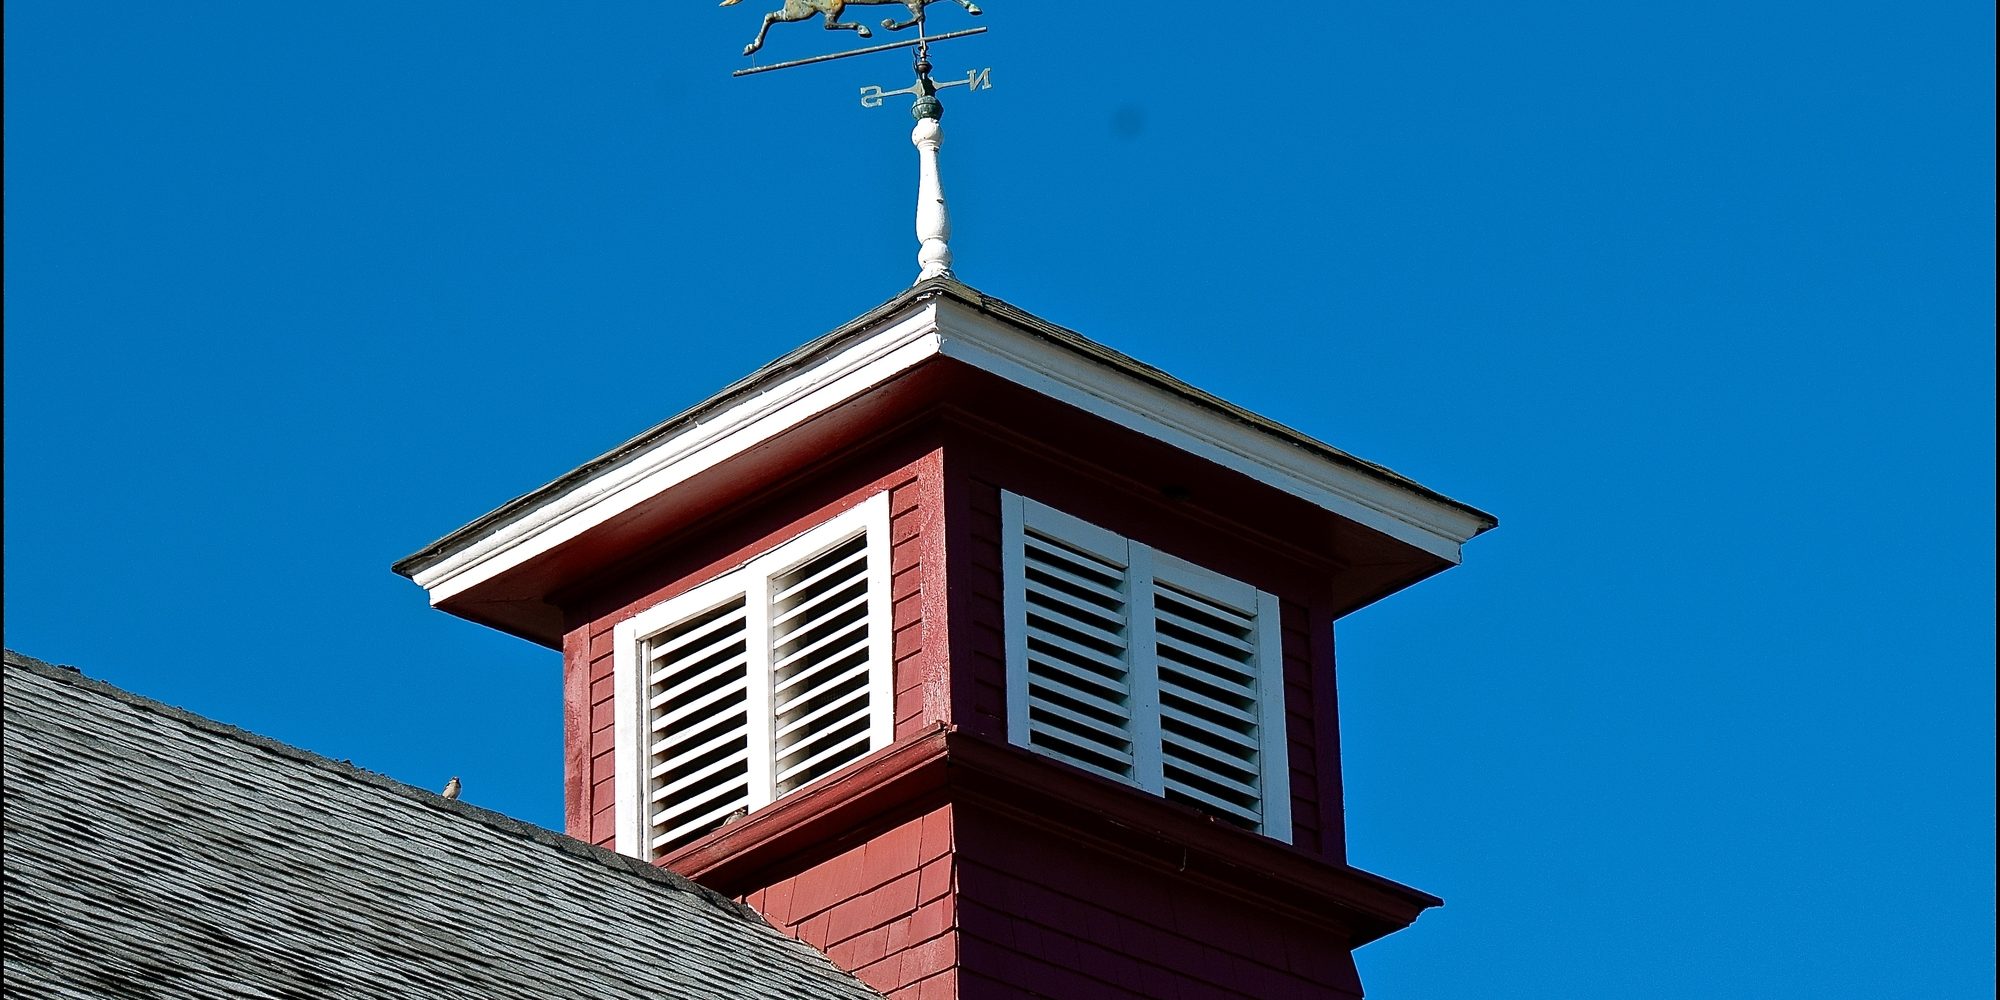
There are many reasons to install a cupola, but most attics don’t require them. A functional cupola serves to provide extra ventilation at the very top of the home. Because hot air usually tends to rise, hot air tends to build up in the attic, and a cupola can do a lot to relieve this heat. However, most cupolas built today are made for decorative purposes only. They add a very nice accent to any building and provide a touch of that classic old-time architecture. In this article, we will provide you with all the information that you need to install a decorative cupola.
You Will Need:
- Chalk or pencil
- Measuring tape
- Utility knife
- Level
- A saw (any kind)
- Drill with 1/8-inch bit
- Screwdriver
- Stainless steel screws (2.5 inches long)
- Stuctural screws (4 inches long)
- A couple extra pieces of wooden board
- Wood putty or plugs (may not be needed)
- Silicone caulk
- Paint
- Roofing nails
- 4 short wooden blocks (2×4)
- Pre-made cupola
Step 1: Prepare The Roof
First, you will need to find the right location for the cupola. In most cases, this will be the exact middle of the roof. Putting a cupola anywhere else tends to look bad, so this is the best option. Measure the outside of the cupola and mark a square of the same size at the center of your roof. Within this square, remove all the ridge shingles. Make sure that you don’t remove anything outside the square.
Step 2: Find The Pitch Of Your Roof
Since you are installing this cupola on a sloping surface, it must be cut at the right angle. The easiest way to find this angle is to construct a simple tool. Just take two pieces of scrap board (one to two feet in length) and join them with a single screw. You can then use this to measure the angle of your roof.
With only a single screw, the tool can swing freely. If you want to make sure that you get the angle right, place it on the roof and then add another screw right next to the first one. This ensures that the device can no longer move. Using your level, you should then add a vertical line in the middle of the arch.
Step 3: Prepare The Cupola Base
Using your arch, mark the base of the cupola on two sides. Use the vertical line that you made earlier to bisect the space to be cut. This will create two triangle-shaped sections that you can measure to ensure that both sides are even and that their angles are correct.
Once you have marked these angles, the next step would be to cut the base of the cupola with your saw. Start by cutting up the middle along the vertical line, and then remove the triangular sections on each side.
Step 4: Prepare The Base
In order to attach the cupola securely, you will need to cut four sections of 2×4. Position these within the square that you marked on the roof. Put one in each corner, and make sure they do not go outside of the lines. In fact, you need to keep them slightly inside the lines, leaving enough space to account for the width of the cupola. For instance, if the sideboards of the cupola are a quarter-inch in thickness, you will need to leave a quarter-inch of clearance that is outside of your 2×4 blocks while still being within the previously marked square.
Now, you will need to drill four screw holes in each block. Finally, Use the long screws to attach these blocks to the surface of the roof. Make sure you don’t forget to drill your screw holes, as long screws can easily split the blocks if you neglect this part.
Step 5: Install The Cupola
Finally, it’s time to attach the cupola to the roof. Start by bringing the cupola up to the roof and setting it in position. Make sure that the angles are correct so that there are no significant gaps between the bottom of the cupola and the top of the roof. Now, drill four guide holes in the bottom of each corner (two per side). This will allow you to use your screws to attach the cupola to the base blocks that you installed in the last step. Use wood putty and paint to cover the screw holes.
Finally, you will need to take your silicone caulk and seal the bottom edge of the cupola. However, you need to make sure that you do not caulk the bottom edge. If moisture makes its way into the cupola through the vent, you need to make sure that it can escape.
Conclusion
Although it exists purely for decoration and not for any practical purpose, a roof cupola is one of the best ways to improve the appearance of your home. Adding a cupola doesn’t tend to be a very expensive project, and you can already see that installation is fairly easy. With the right tools and a little care, anyone can do this job.
Of course, we should mention a word about roof safety. Plenty of people have been injured or killed because they didn’t take precautions when working on a roof, so use whatever precautions you deem necessary. Professionals will usually wear a harness and add an anchor to the roof so that a safety line can be attached. Even if this doesn’t turn out to be necessary, we hope that you will keep yourself safe while doing this job. We also hope that you will fill out the contact form below so that we can bring you more interesting articles like this one.


